Self-hosting paperless-ngx the easy way
 Jonas Scholz
Want to digitize your documents without complicated server management or expensive SaaS subscriptions? paperless-ngx hosted on Sliplane offers the perfect solution for creating your own secure, self-hosted document management system. This guide shows you how to set it up on Sliplane within 5 minutes for only 9 euros per month!
If you prefer to watch the video tutorial instead of following the step-by-step guide, you can do so here:
Setup
This guide will walk you through the process of setting up paperless-ngx on Sliplane. If you have any questions or need help, feel free to use our support chat (bottom right)!
Step 1: Setting up Redis Instance
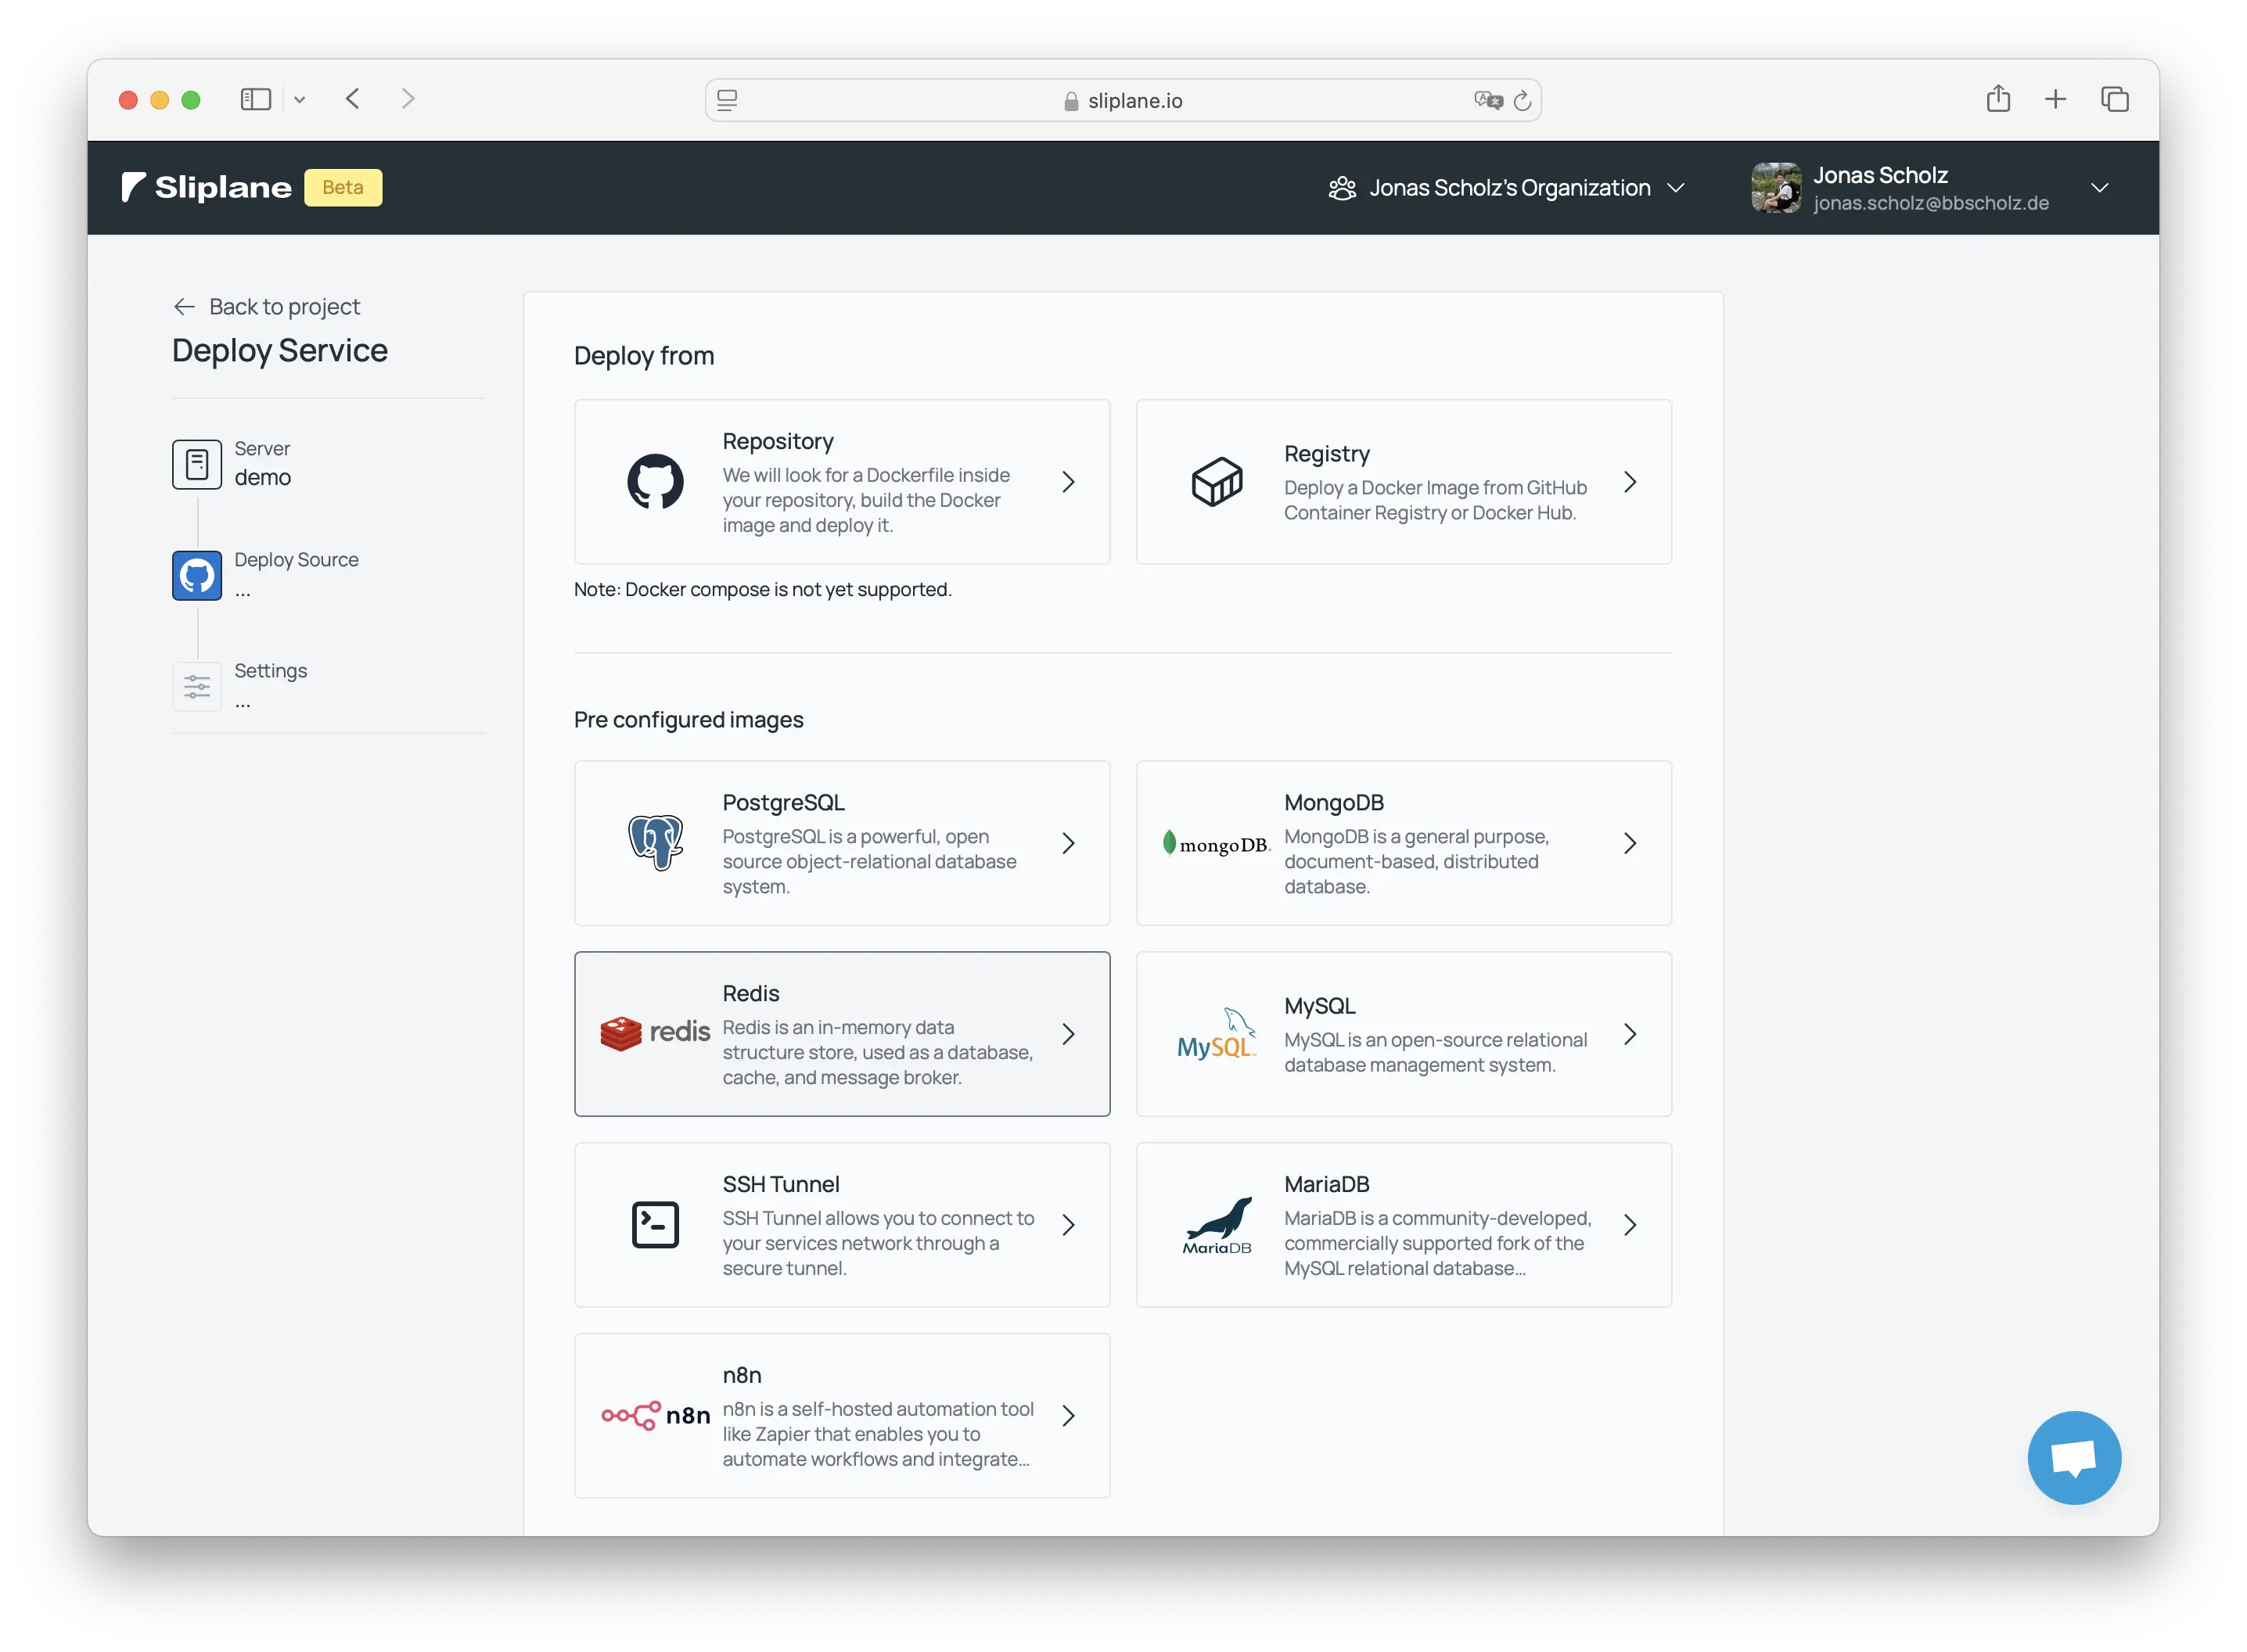
paperless-ngx requires a Redis instance to function properly. In your project, click on "Deploy Service"
- Select the Redis preset
- Configure the instance:
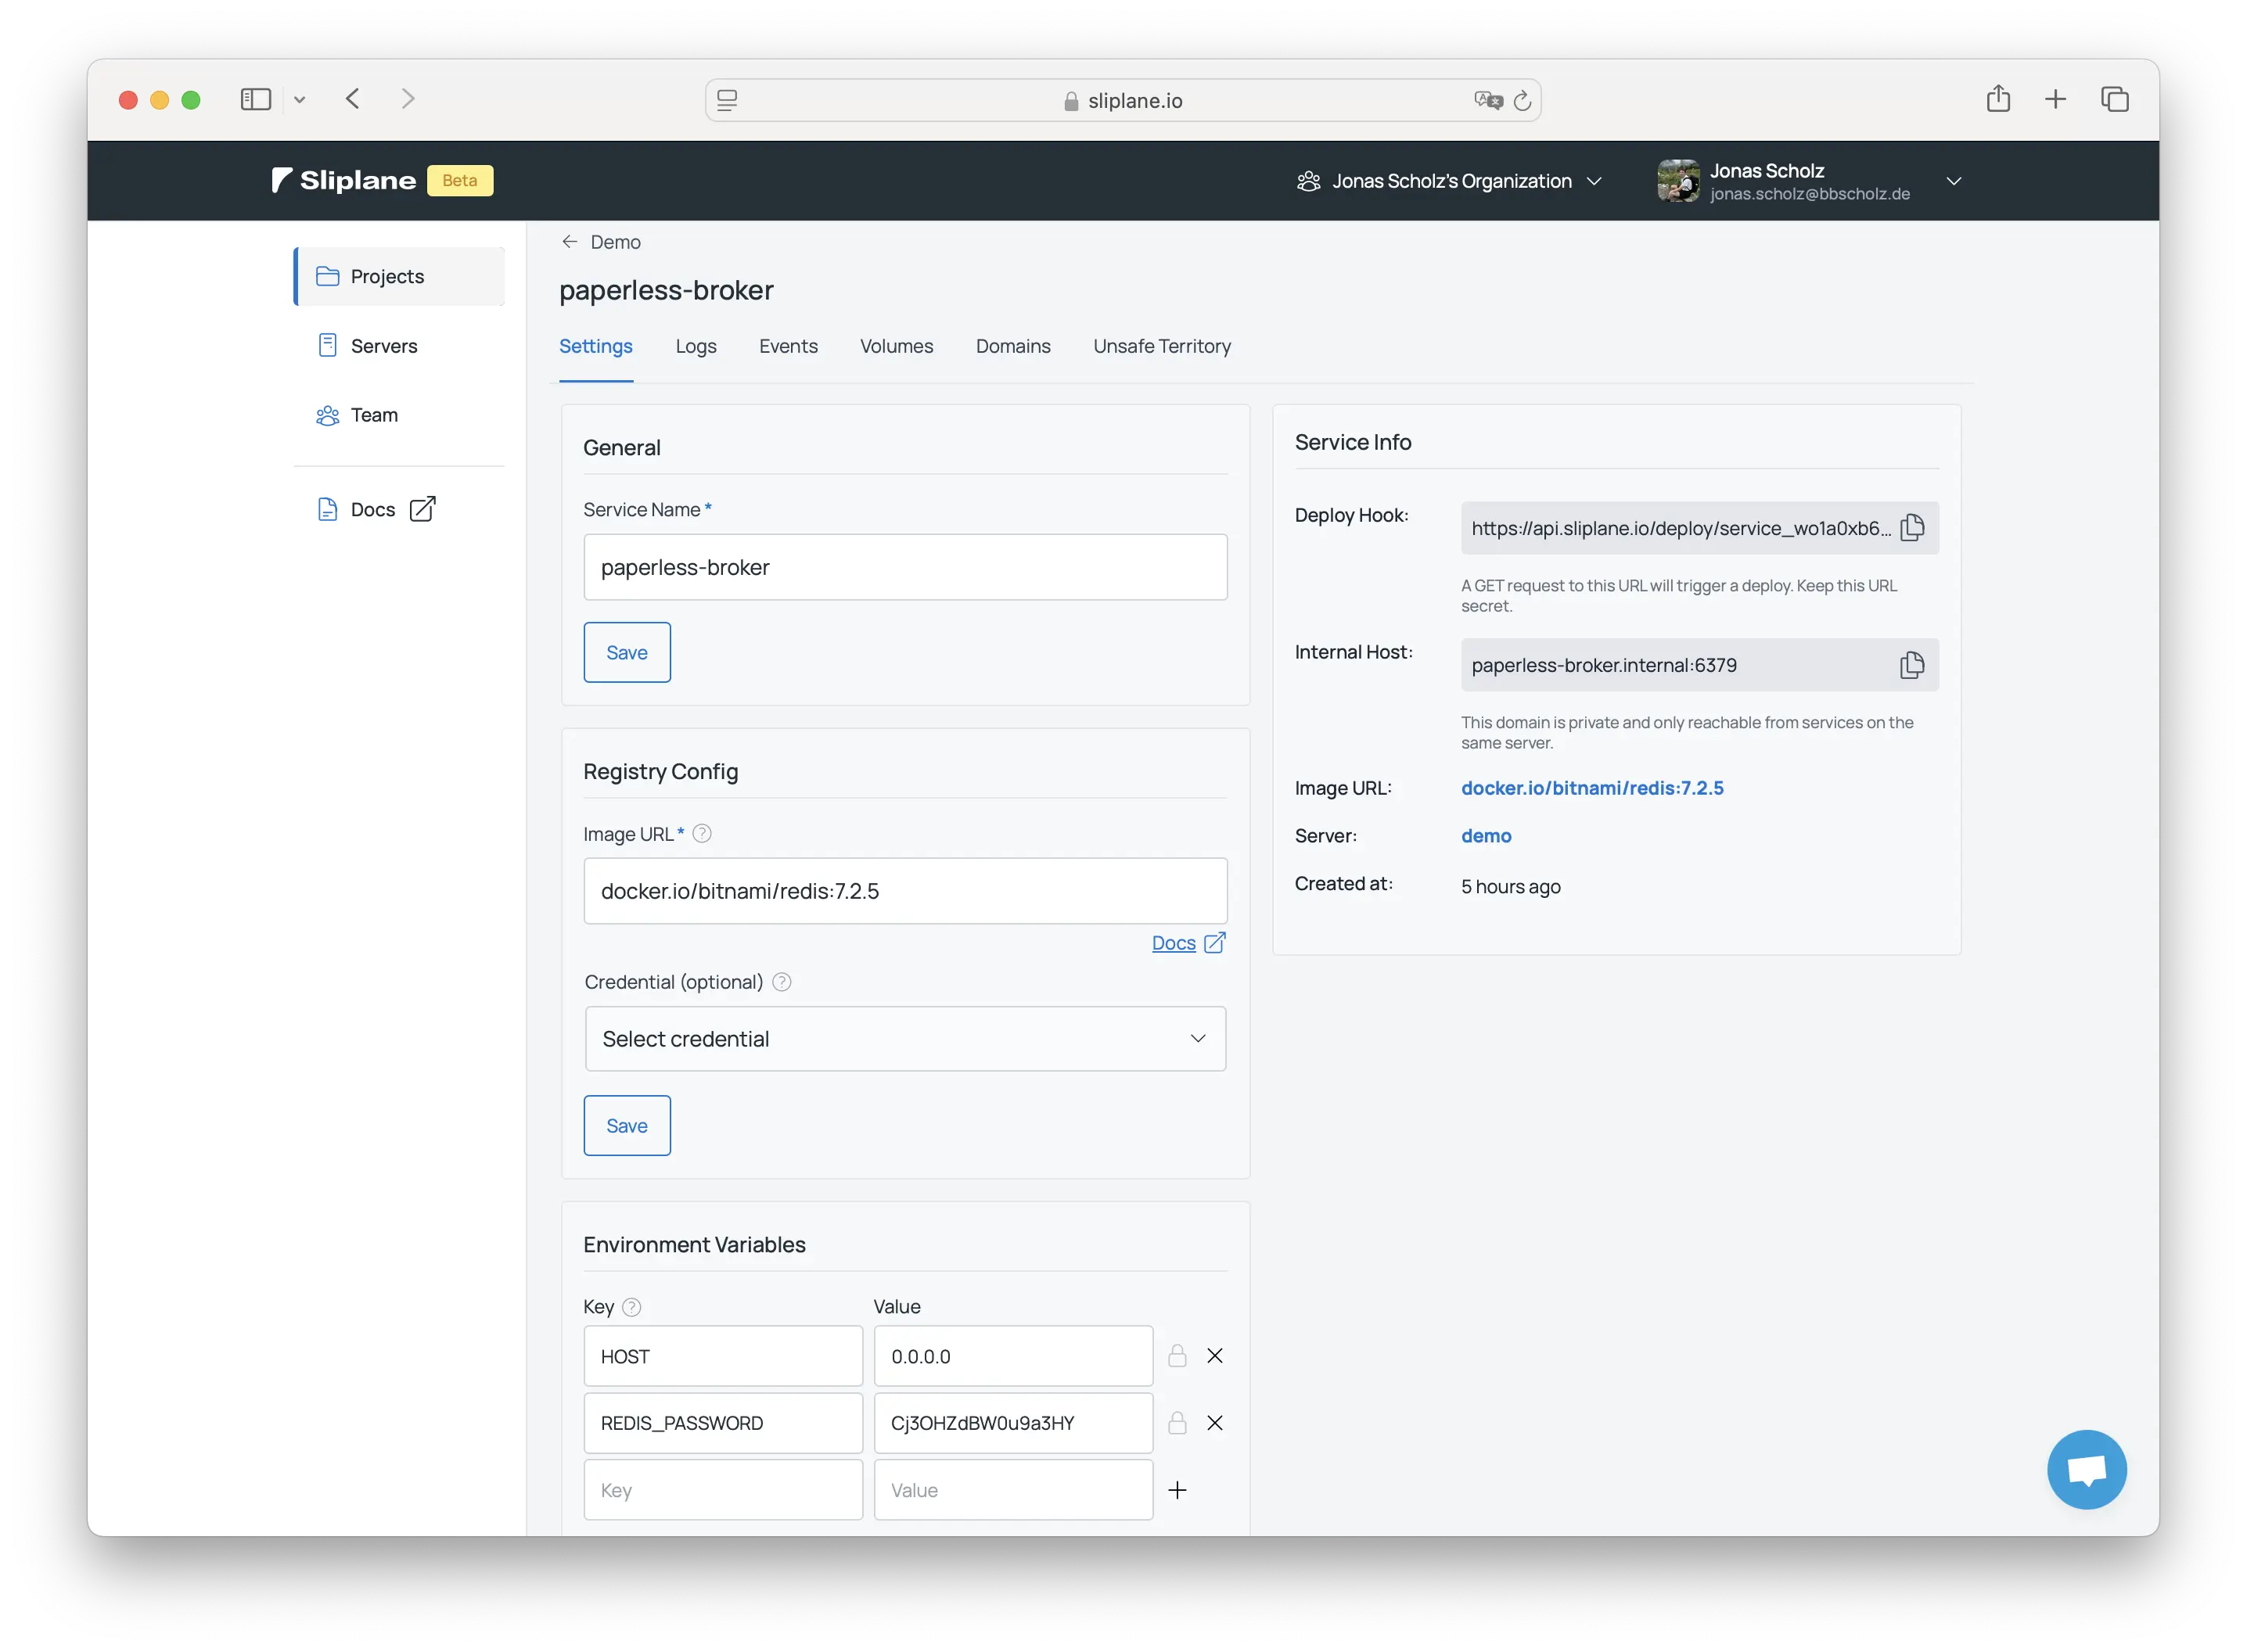
- Set access to Private
- Rename the instance to paperless-broker
- Click Deploy
- After deployment, copy and save the Redis password and hostname for later use
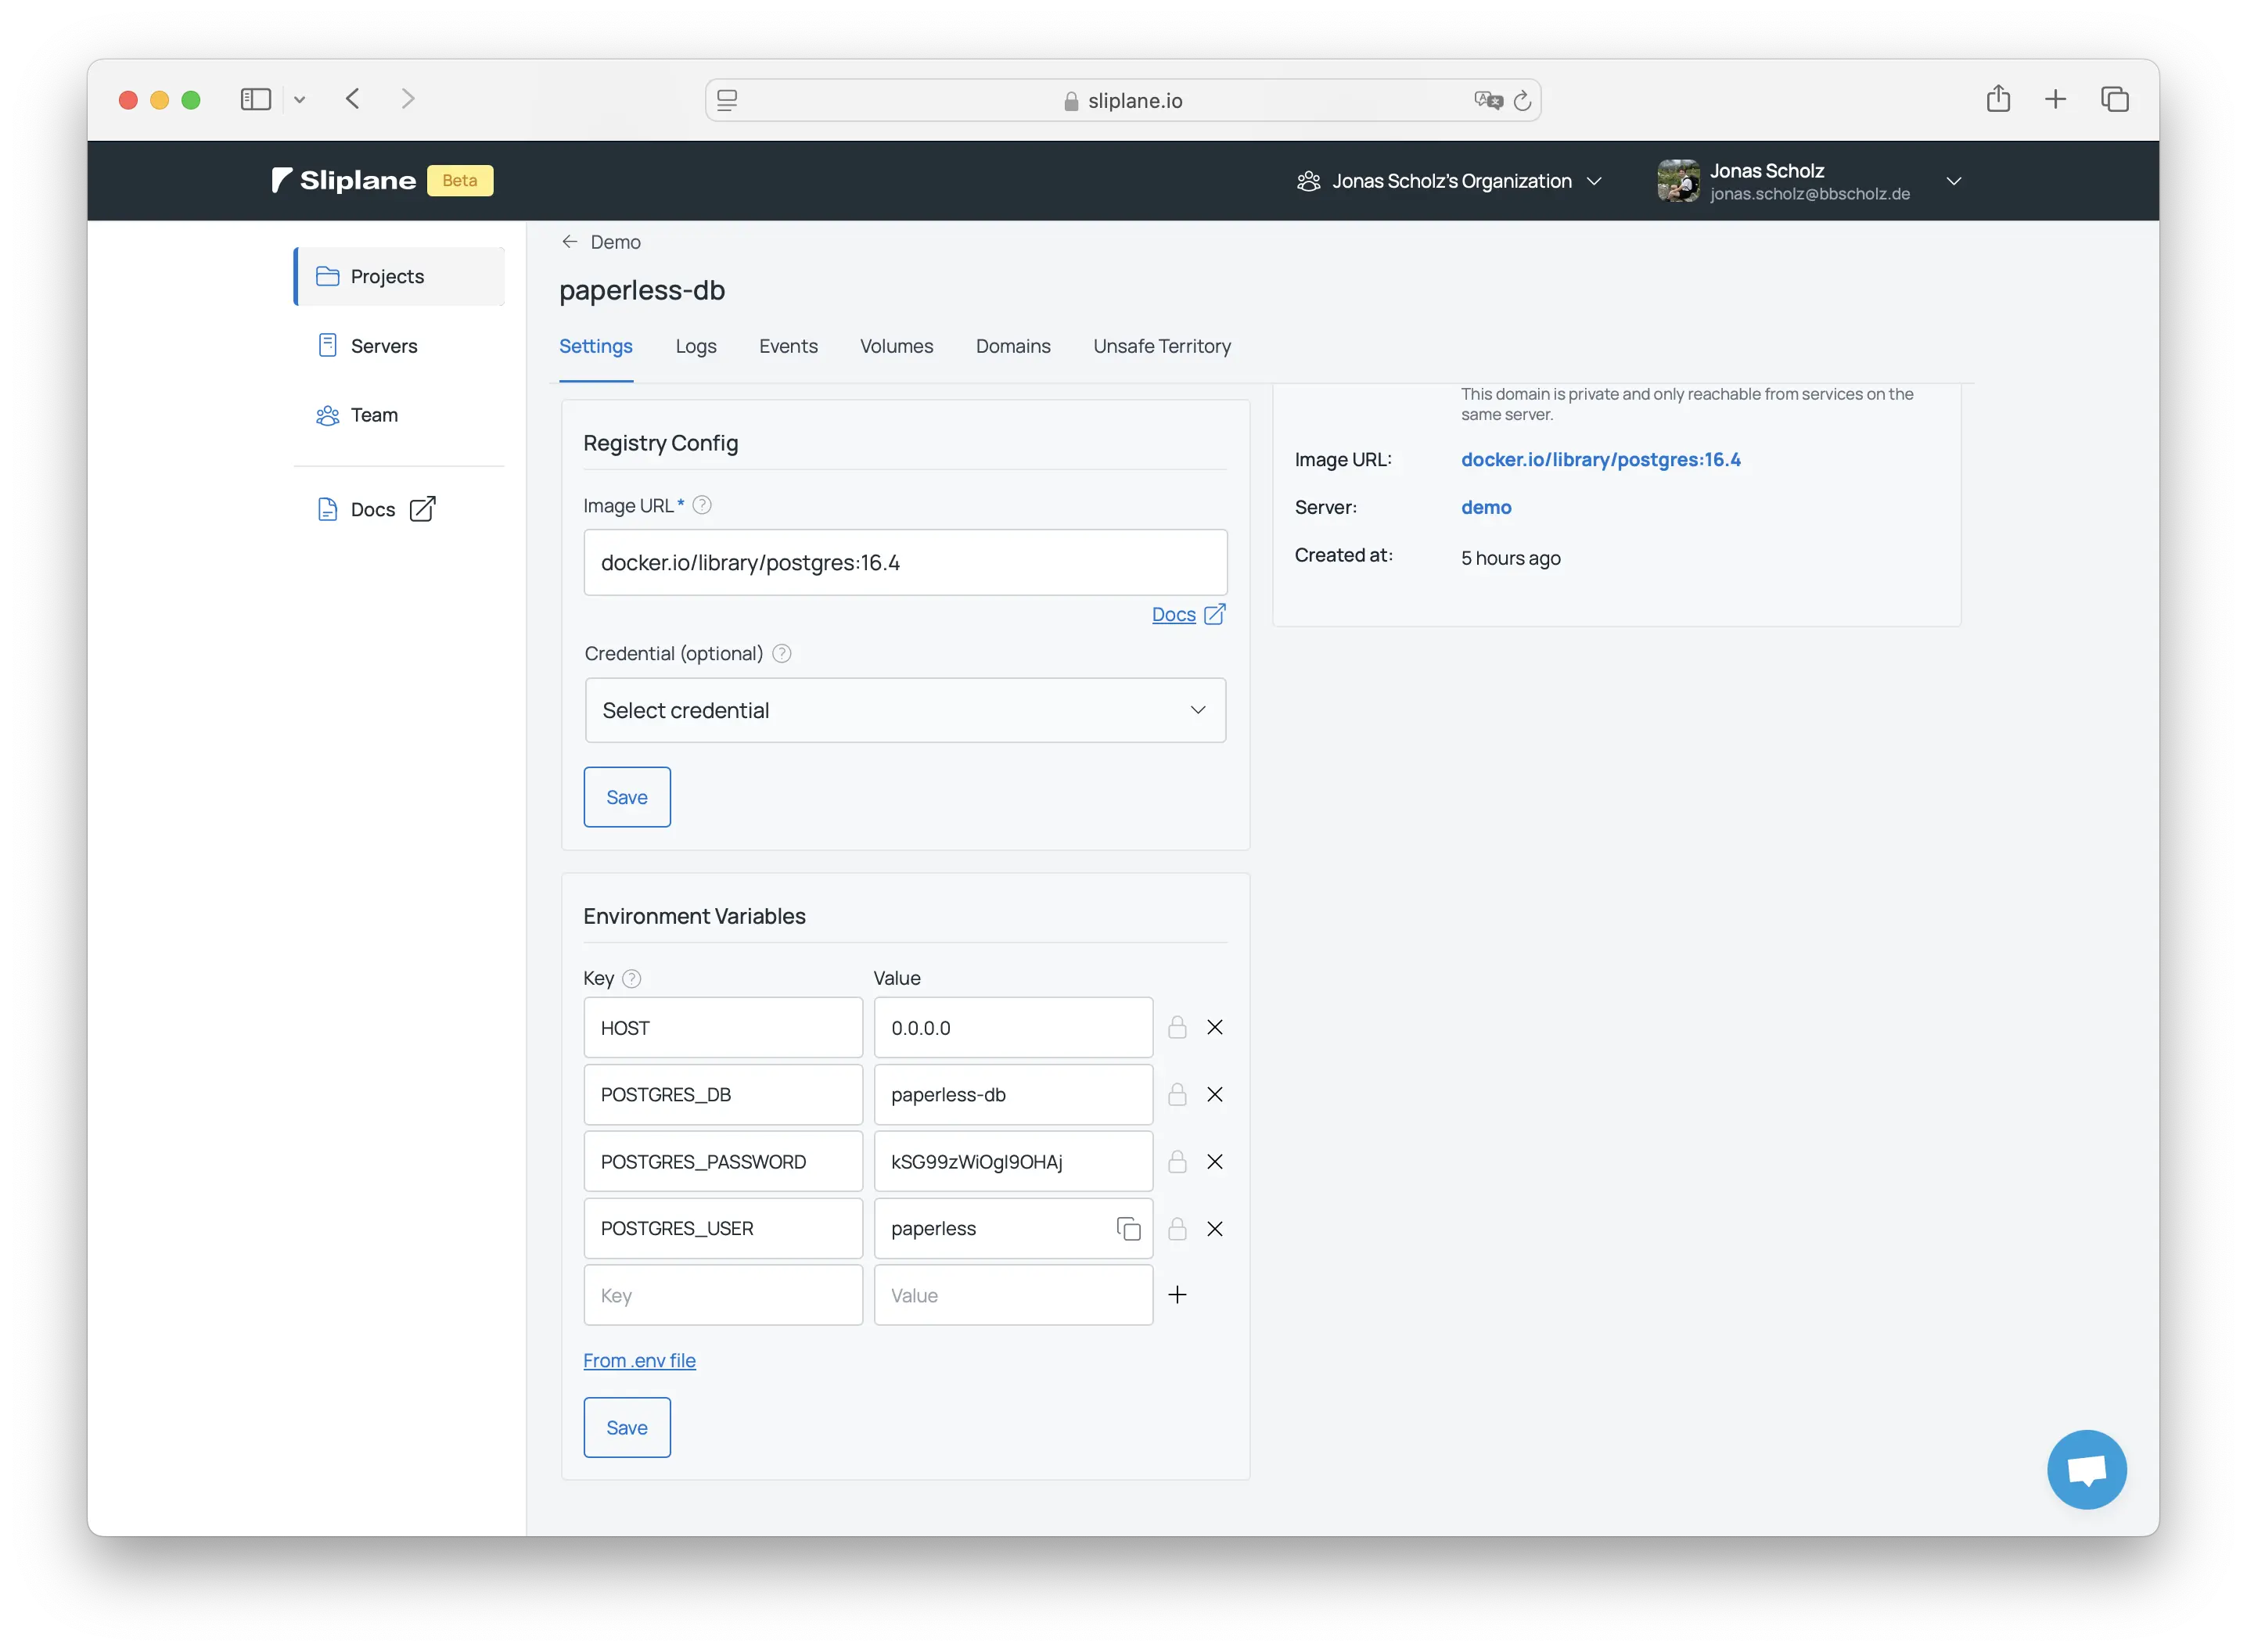
Step 2: Creating a Postgres Database
paperless-ngx requires a Postgres database to store its data. In your project, click on "Deploy Service"
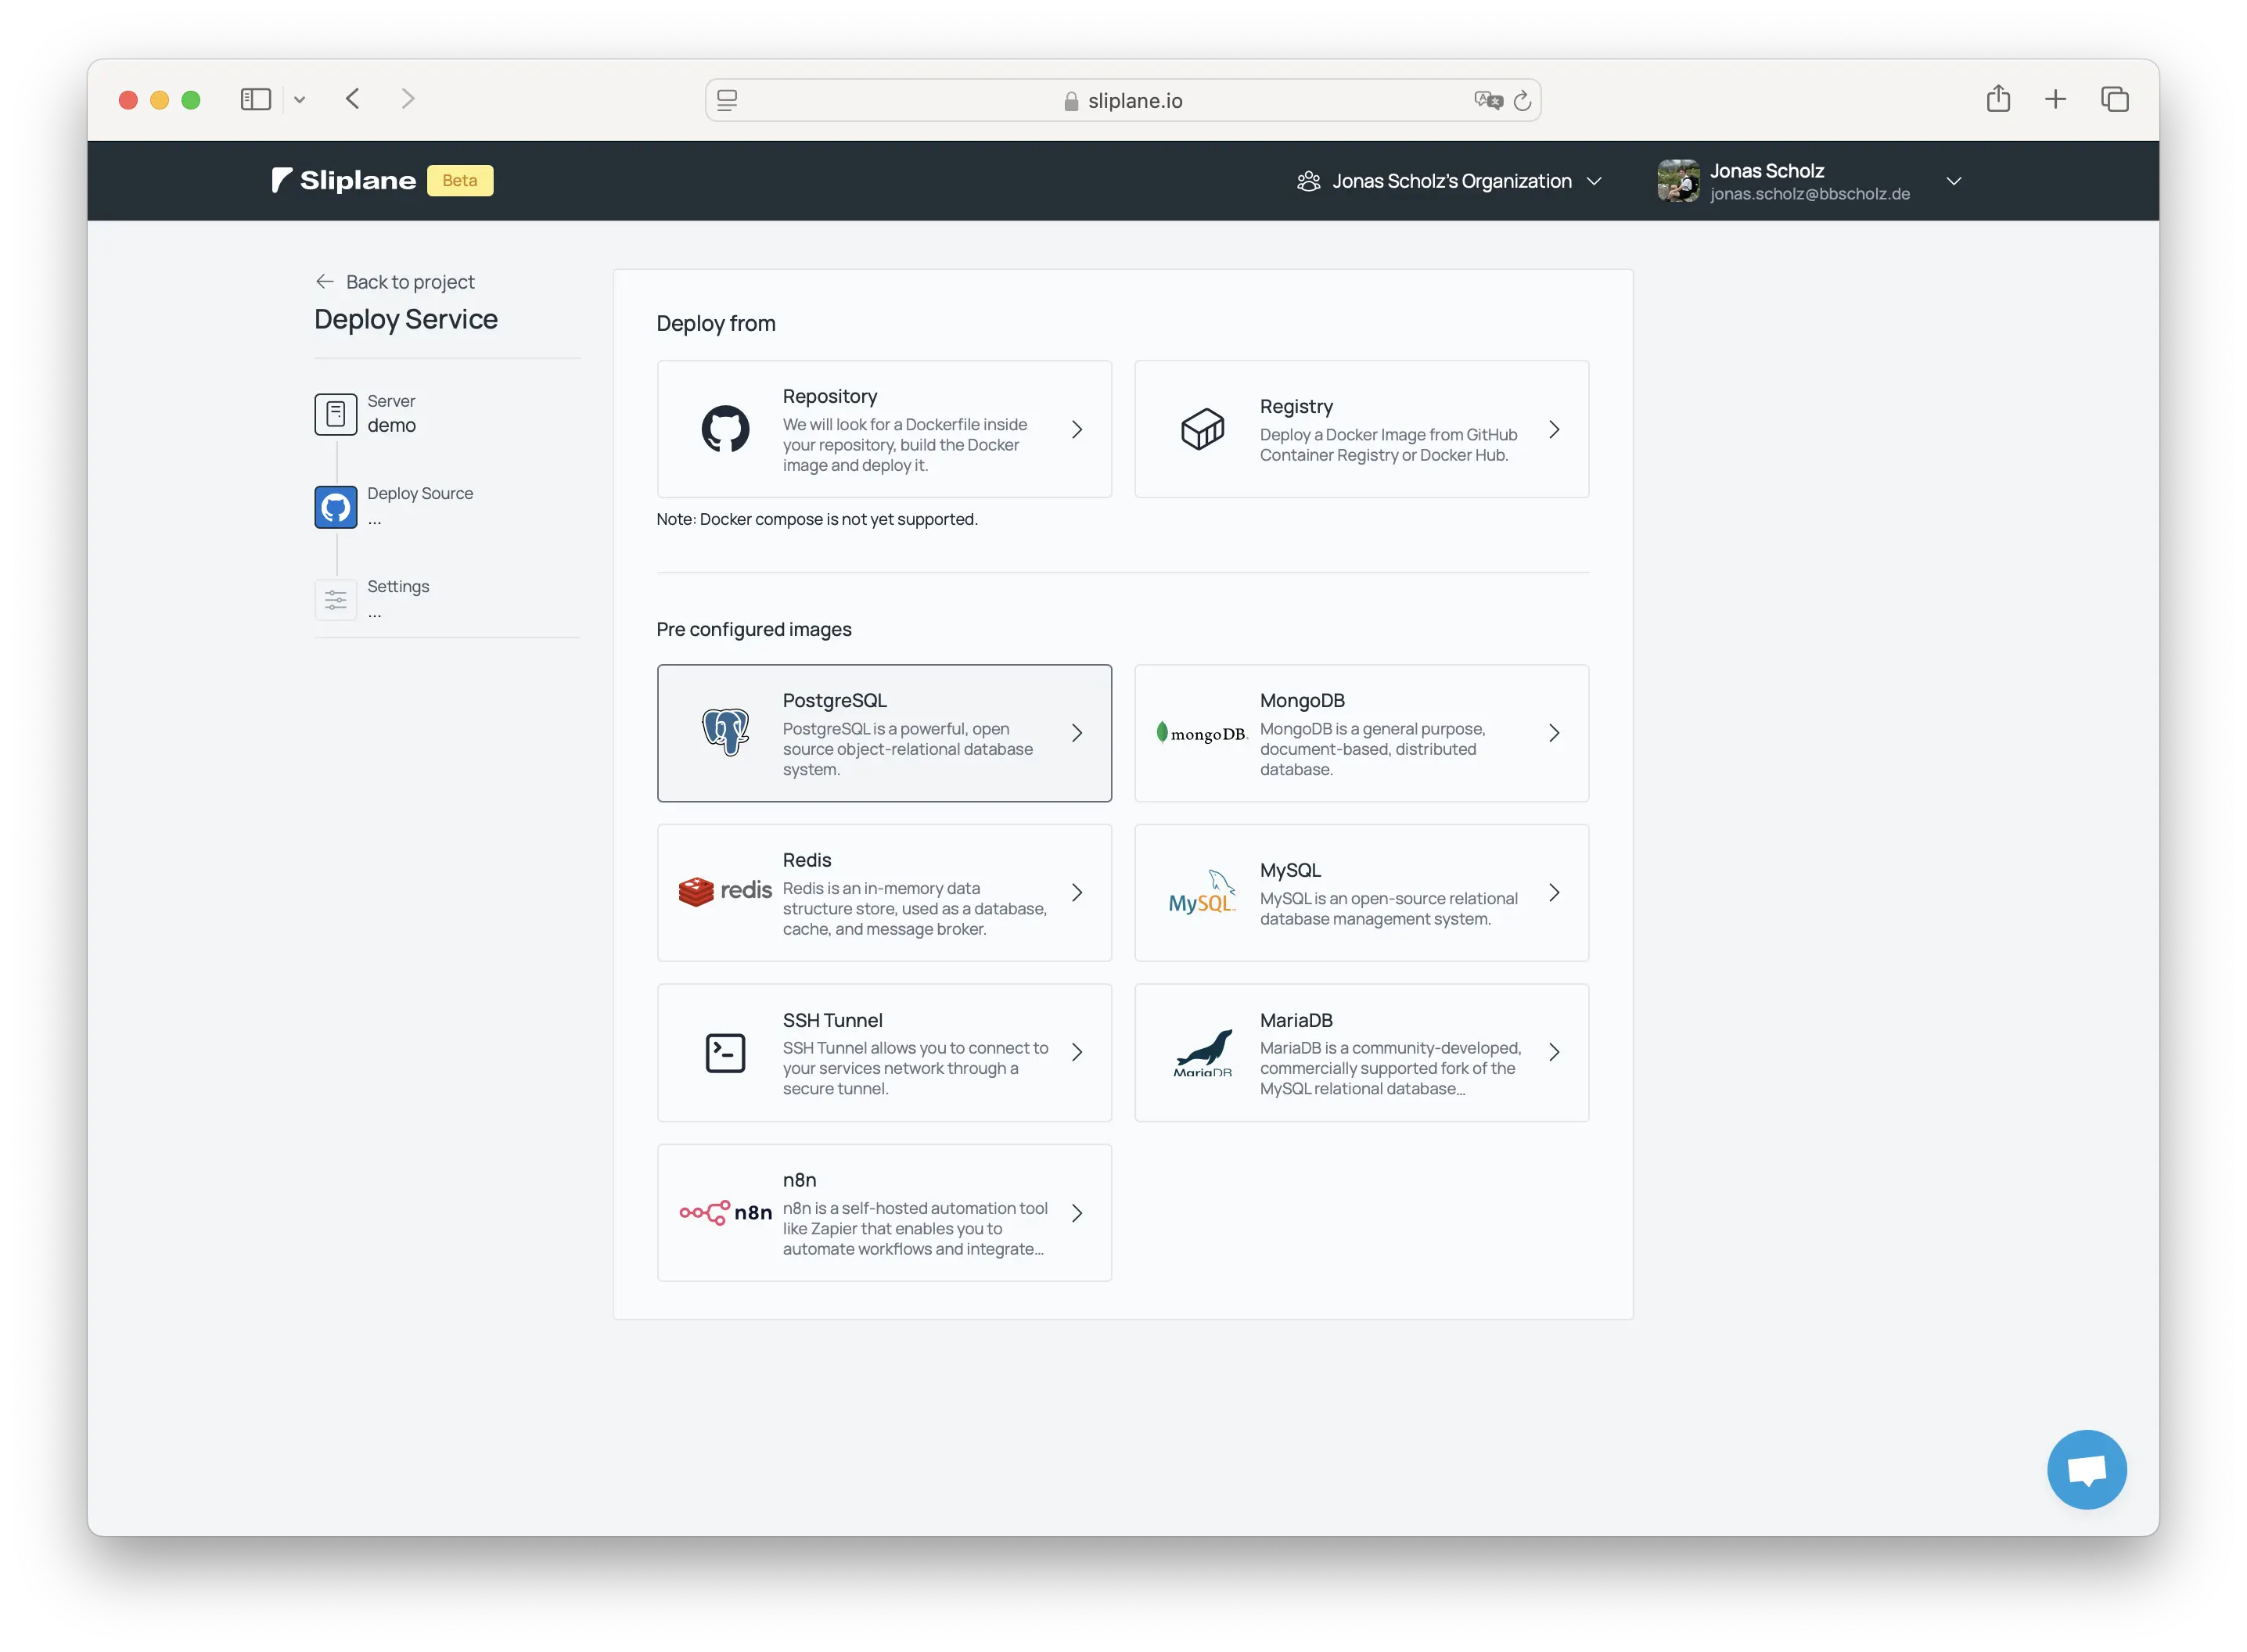
- Select the Postgres preset
- Configure the database:
- Set access to Private
- Change the username to paperless
- Set the database name to paperless-db
- Rename the service to paperless-db
- Click Deploy
- Save the Postgres password and hostname for later use
Step 3: Deploying Paperless
Finally, we can deploy paperless! Again, in your project, click on "Deploy Service"
- Select deploy from Registry
- Insert the Github Registry Image URL
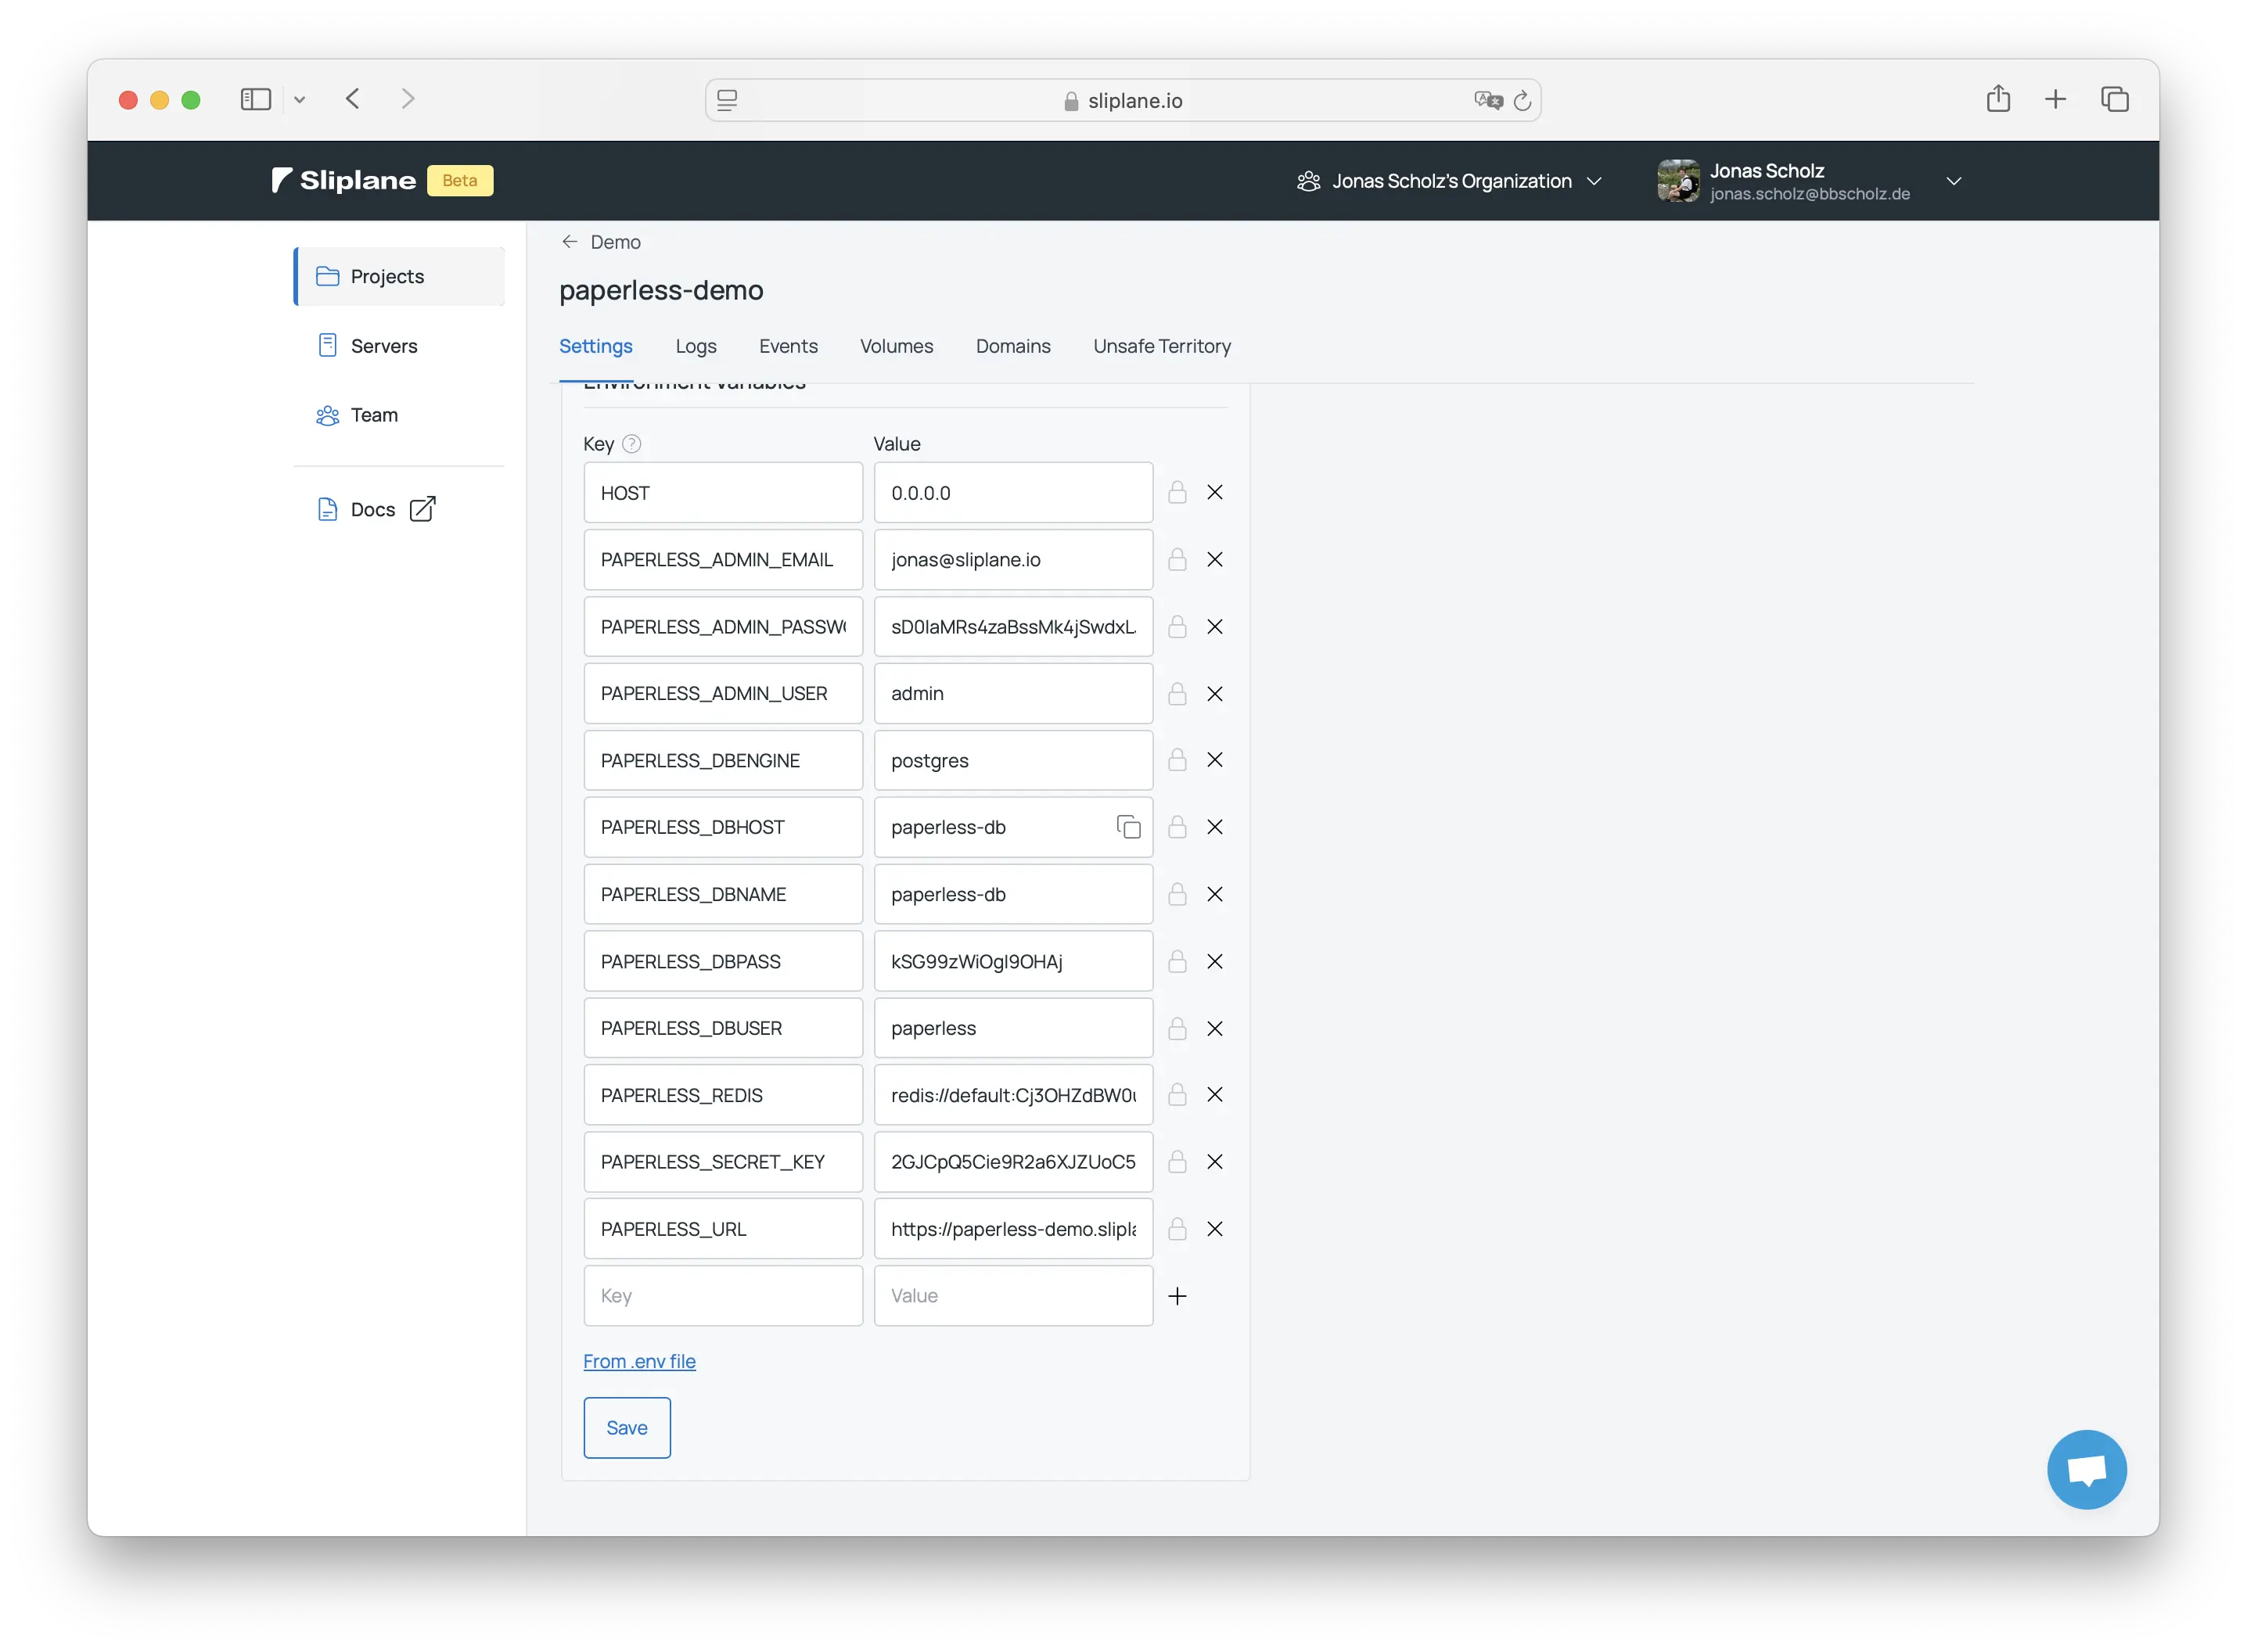
ghcr.io/paperless-ngx/paperless-ngx:latest - Enter these environment variables and edit the values as needed:
HOST=0.0.0.0
PAPERLESS_ADMIN_EMAIL=admin@example.com # change this
PAPERLESS_ADMIN_PASSWORD=sD0IaMRs4zaBssMk4jSwdxLJ # change this
PAPERLESS_ADMIN_USER=admin # change this
PAPERLESS_DBENGINE=postgres
PAPERLESS_DBHOST=paperless-db
PAPERLESS_DBNAME=paperless-db
PAPERLESS_DBPASS=kSG99zWiOgI9OHAj # change this
PAPERLESS_DBUSER=paperless
PAPERLESS_REDIS=redis://default:Cj3OHZdBW0u9a3HY@paperless-broker.internal:6379 # change this
PAPERLESS_SECRET_KEY=2GJCpQ5Cie9R2a6XJZUoC5T7 # change this
PAPERLESS_URL=https://paperless-demo.sliplane.app # change this
The PAPERLESS_URL should match the URL of your service. The URL of your service is your-service.sliplane.app, assuming its not used yet.
Storage Configuration
- Mount the following volumes for data persistence:
- data:
/usr/src/paperless/data - media:
/usr/src/paperless/media - export:
/usr/src/paperless/export - consume:
/usr/src/paperless/consume
- data:
Finalize Deployment
- Ensure the service name matches the URL you set earlier
- Verify the name is unique
- Click Deploy
- Wait for Paperless to start
Step 5: Accessing Paperless
- Once successfully started, navigate to the URL of your paperless service (you can find that in the settings)
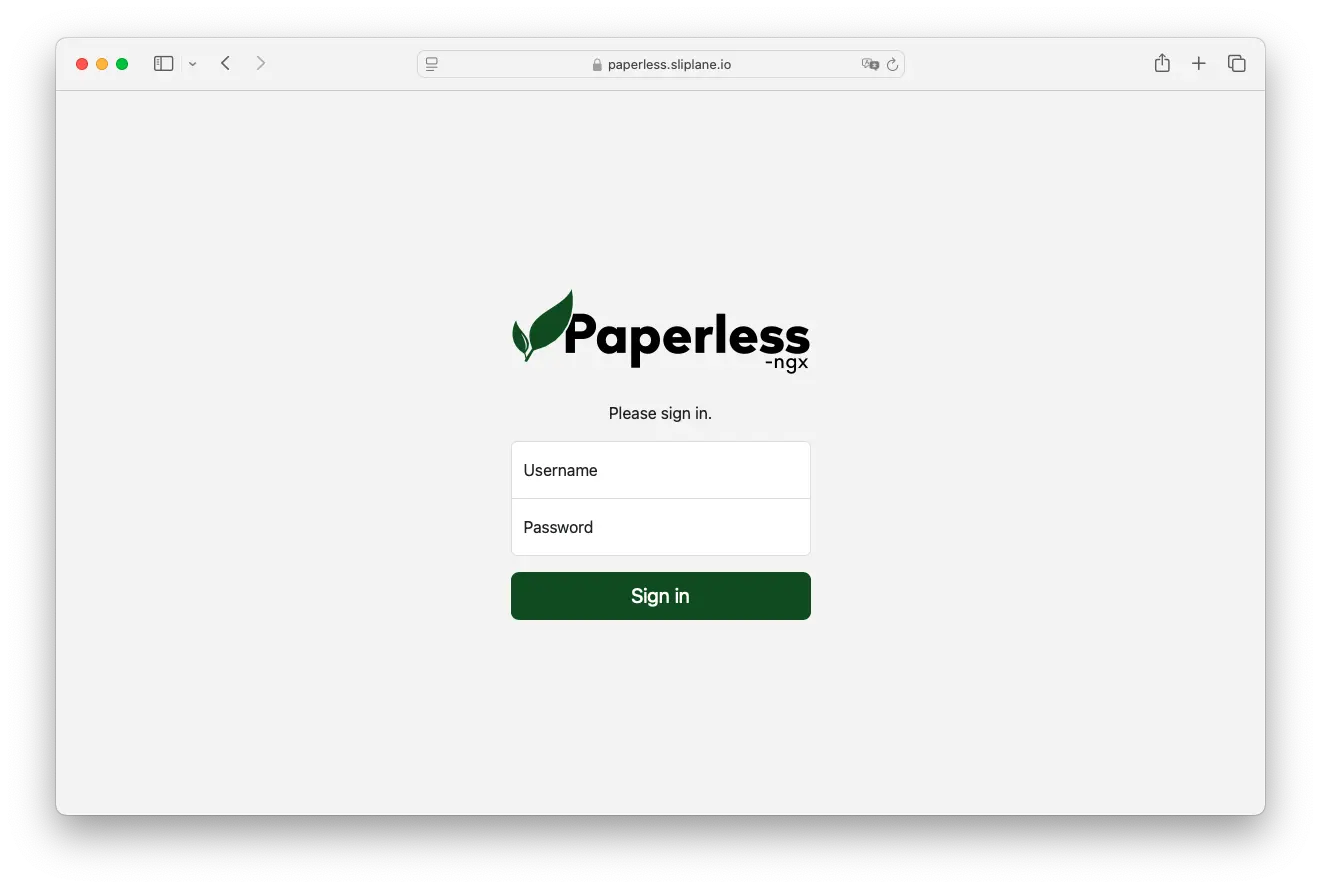
- Log in using your superuser account credentials
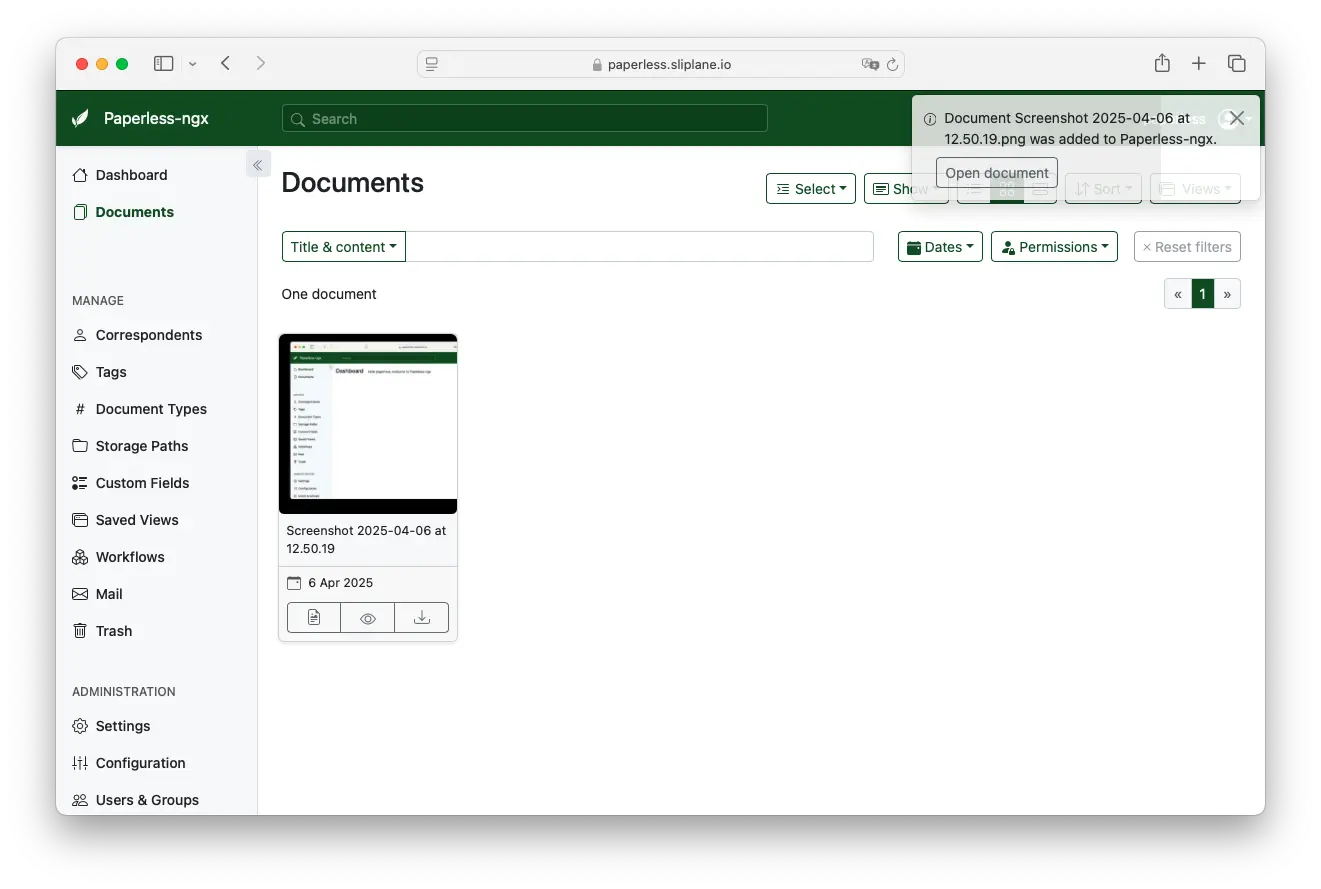
Now you have a fully deployed Paperless system with persistent storage and secure database connections, costing you only $10/month with 0 maintenance required.
Cheers,
Jonas, Co-Founder sliplane.io